for about a year and a half now, i've been living without any sort of window treatment on my living room window. it is a big window. if you are anything like me and prefer taking walks at night rather than during the day just so you can peek into windows (don't worry, i only look from the sidewalk. i'm no peeping tom), then my house would not let you down. my business is exposed to the world through my big living room window. in an effort to spare my neighbors the sight of me streaking past the living room into the laundry room to retrieve clean clothes every now and then, i decided it was time to whip me up some curtains. and here's how i did so:
step 1)
 install curtain rod. i must admit that i'm pretty proud of myself for putting this bad boy up all by myself. i must note, however, that this would have been much easier if i had a tool belt. i ended up shoving odds and ends down my underwear because i couldn't juggle everything at once. and apparently i forgot about said odds and ends because when i went to the bathroom later, my tape measure fell in the toilet. true (sad) story.
 step 2)
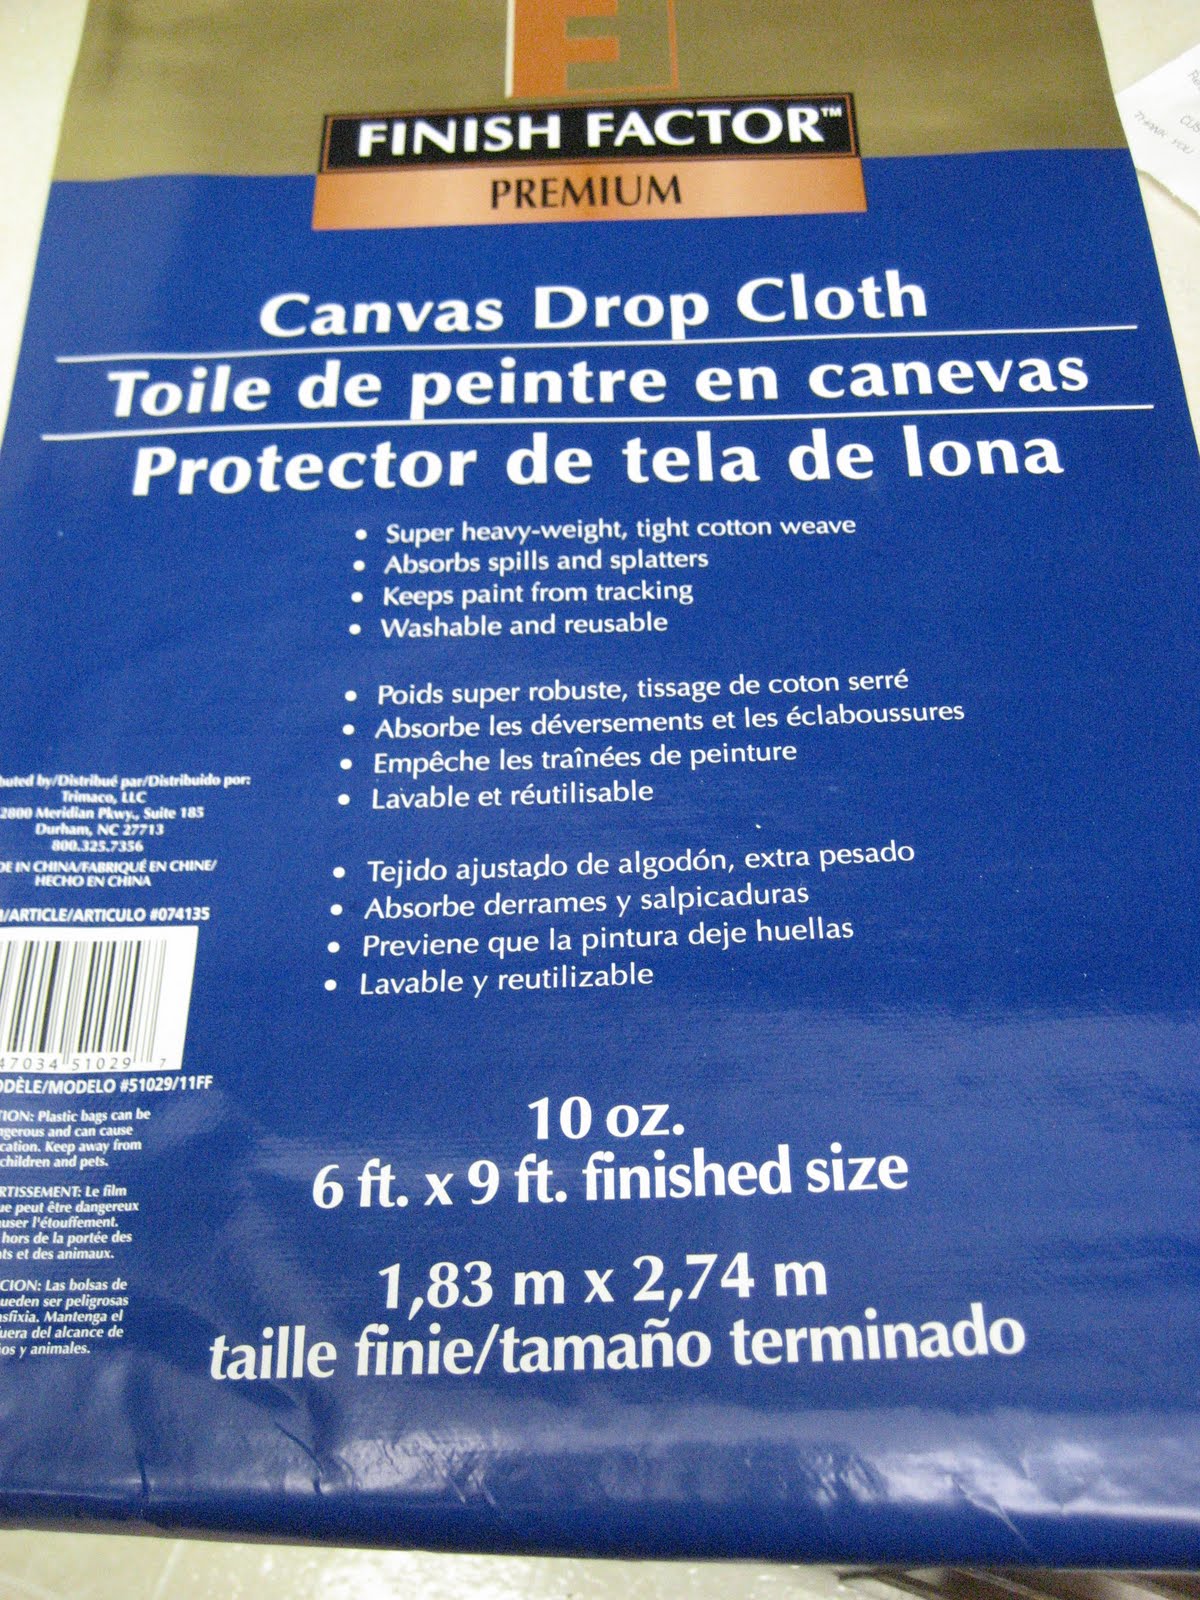 pick yourself up a fancy canvas painters drop cloth. i went with a 6 x 9 footer (which was too small), but many different sizes are available. if you're not sure which size you'll need, feel free to borrow my water logged toilet tape measure. this drop cloth set me back about $10.
 step 3)

 next, you're going to want to spread your canvas out because you're going to cut it into two equal panels. as i've mentioned before, i'm not much of a measurer so i just cut along the crease that went down the center of the canvas. if you're a bit more detail oriented, feel free to measure away.
step 4)

the canvas is going to fray like a mo-fo along the edge that you cut, so you'll have to sew a hem. OR if you're like me and are a sewing dimwit, you can use no-sew hem tape. whichever method you choose, you're going to need to do some ironing. and by 'some' i mean a ton. this was the worst part of the project. i. don't. iron. after all, a wrinkle never killed anyone. but since these curtains will be hanging in my living room for all (of my one visitor per month) to see, i figured i would conform to the demands of a non-wrinkled society. after ironing the creases out of the canvas, iron a one inch-ish hem along the frayed edge.
step 5) 
 (i am such a good photographer)

 (i am such a good photographer)
step 6)
 tape out a design. any design your heart desires. i went with with an arrowish design. kind of like a half chevron.
 step 7)
 paint those suckers. paint them good and hard. i used plain old flat white latex trim paint. i started with a roller, but quickly switched to a nylon brush. the canvas is chock full of dimples and pores and the roller just wasn't covering well. the brush was perfect at getting all up in there.
step 8)
 while the paint is still wet, take the tape off. because i'm impatient and i assume you are, too. if you're a patient person, wait for the paint to dry.
 step 9)
 hang your curtains, step back and think...eh. they're just okay. i like the color combo. the canvas has a great, natural oatmeal color that looks fab when paired with the crisp, white paint. i like the weight of the curtains. they're nice and substantial and not at all flimsy. i don't like the size of the panels. i should have gone with a bigger canvas so each of the panels could be wider. also, my non-measuring ways bit me in the butt and the panels are about three inches too short. cuh-rap.
 so there you have it. my 'eh' curtains. i'll keep them up for now, but i'm keeping my eye open for some different curtains. the kind of curtains where the only DIYing involved is entering my credit card number.
you know the kind.
I spy an IKEA ironing board. This is a really cool idea (an a hilarious post. tape measure in the toilet! love it)
ReplyDeleteThis sounds exactly like the sort of project fail that I end up with all the time. At least it was better than 5 hours of boredom? And for what's it worth, I think they look cute!
ReplyDeleteoh sarah. a tape measure in your undies? we may have to craft you a tool-holder at mad gab.
ReplyDeleteGreat job! they look fabulous. Hey I stumbled across this site the other day. I am not sure how it works yet... but it is FABULOUS, I mean FABULOUS inspiration. I have already copied a few things.
ReplyDeletehttp://pinterest.com/liliema/home-sweet-home/
thanks for the link, jenn. looks like it has some very inspirational stuff. i will NOT be posting my curtain fail up there.
ReplyDeleteThank you for posting even a "fail". Sometimes it's nice to know other people's DIYs don't come out perfect either :) That said, I do love the pattern you picked!
ReplyDeletethey're adorable!
ReplyDelete